Showing posts with label Apocalypse. Show all posts

Monday, 10 March 2014

A Titan Story - part 6

Final stages of assembly and preparation before paint!


I located a stack of magnets in the ball joint of the head (Reaver pictured)


On the opposite end I cut a strip of 0.5mm steel and shaped it to fit


A Warhound receiving the same treatment


It dosn't look pretty, but you will never see it


I also glued some 0.5mm metal strips to the inside of the canopy of the Warhound heads. Magnets were located on the head itself


It makes a nice snug fit an the metal/magent combination has plenty of stregth


The head is now magnetized so that it is removable for transport, and also poseable!


The last stages of pre assembly before the model is stripped, cleaned, and primed!


Here is a shot of all three. The Reaver has been finished to the paint stage, where the Warhounds still require a little work on the weapons. Parts such as the shoulder pauldrons have been left unfixed for ease of painting.

So all that is left to do now is to give the Titans a good wash to remove all the residue and dust from assembly, then prime them! I have a little work left to do getting the weapons to sit perfectly and I also would like to spend some more time getting the body to fit more snug.

My plan of attack is to paint the interior first, followed by all the mechanical, then weapons, and finally all the armour


And now for a live action shot. The Reaver now has 3 superheavy kills and one of the Warhounds has 1!

I've promised myself I will not get any Knights Paladin or Knights Errant until I have painted the Titans...


Monday, 13 January 2014

Pedro Must Die! - Xmas Apocalypse

Over the Xmas break, a few of the locals got together for our annual apocalypse game.


We had the combined forces of destruction made up of World Eaters, Necrons and Orks


Defending them were the Crimson Fists, Blood Angels, Dark Angels Space marines, backed up by Imperial Guard and supported by a Titan Maniple


We set up of the Friday and spent the entire Saturday playing through approximately 24k a side


My Reaver Titan got the opportunity to lay down so fire suppression for the first time. It managed to notch up 3 super kills over the duration of the game.


The game was based around the infamous Pedro and his ability to survive any fight vs the forces of Chaos. One of the guys down here takes him every game and boasts he has never died once. Probably has a lot to do with hiding in fortifications all the time.


With the Blood Angels holding up the Orks almost single handedly, and the Imperial Guard and Dark Angels gun line fending off the Necrons, It was left to Pedro to fight Chaos.


With the support of the Titan Maniple Pedro managed to get the upper hand despite loosing his Aquila Stronghold early on and defeat Chaos yet again without a scratch on him!


Necron vs Imperial Guard + Dark Angels


Imperial forces surround the World Eaters (foreground)


Air support mops up last of the Ork attack on Pedros fortress


Monday, 23 December 2013

A Titan story - Part 5

So I could not resist the Reaver Titan any more. After the Warhounds got pushed aside for the Fire Raptors, I decided to give the Reaver Titan a good go.


First up the hip joint and upper leg. Nice and simple, single pin and a bit of a tidy up.


There is nice groves for the parts to slot together with ensuring a good centred fit.


Alot of the parts are single piece casts. No issues here, a quick clean and layout to check everything is good


A few dry fits later and we have some legs! There are no groves or teeth like the Warhound Titan in each joint so making sure you keep the right angles requires a bit more patience.


At this point things felt like they were going to smooth. There is alot of detail on these parts and for once I dont think I accidentally cut/sanded off any rivets!


After waiting a few hours for the epoxy to gain some strength, I completed the leg assembly. Looks easy right? This has to be one of the most frustraighting things to do during assemble. I had not placed a magnet on the waist this time so balancing the level and holding the legs firmly on the ground (after making sure the building surface was level) took alot of time, and blu tac! You can see the bits of green stuff in the knee joints where I drilled through and pinned the model. Using an electric drill takes a bit of working up to on your $1000 model...


The end result came out great. There is far less flexibility in the Reaver Titan compared to the Warhounds. Left foot forward, slightly prone, right leg bracing to fire. Damn this thing is huge!


Next up we have the upper body. Nice simple assembly here again. everything aligned ok so no major issues. I did experience some shrinkage with the three parts that make up the rear being about 1mm to short. You dont see any of these joins as they are cleverly hidden with overlaps and undercuts. The weapon mounts where pinned into place and targeting servitors have been prepared for painting before final assembly (not pictured)


A quick look from the rear. The cooling fans in the centre are covered by a grill once assembled. You can also see how I magnetized the void shield generators. So far this Reaver Titan has been very simple to build.

Next update will be the full assembly of the Reaver Titan! Things have gone so well with this that the last thing remaining to do (as of typing this) is mounting the head!


Thursday, 19 September 2013

Return from the Grave

Well guys I am back. If you didn't miss me well thats your loss. If you did.. bro!
If you did not know I took the opportunity to backpack around Europe for a few months after attending the ETC on Team New Zealand! 

I managed to fit in the great pilgrimage to Warhammer World and came out a bit lighter in the pocket...


 An imposing site


 The complex is rather large


 An Ultramarine's Rino greets you on your way into the car park


 The gateway to Warhammer World


 Original artwork is displayed on the stairs up to Warhammer World


 The gaming hall


 Some of the gaming tables are the ones from White Dwarf


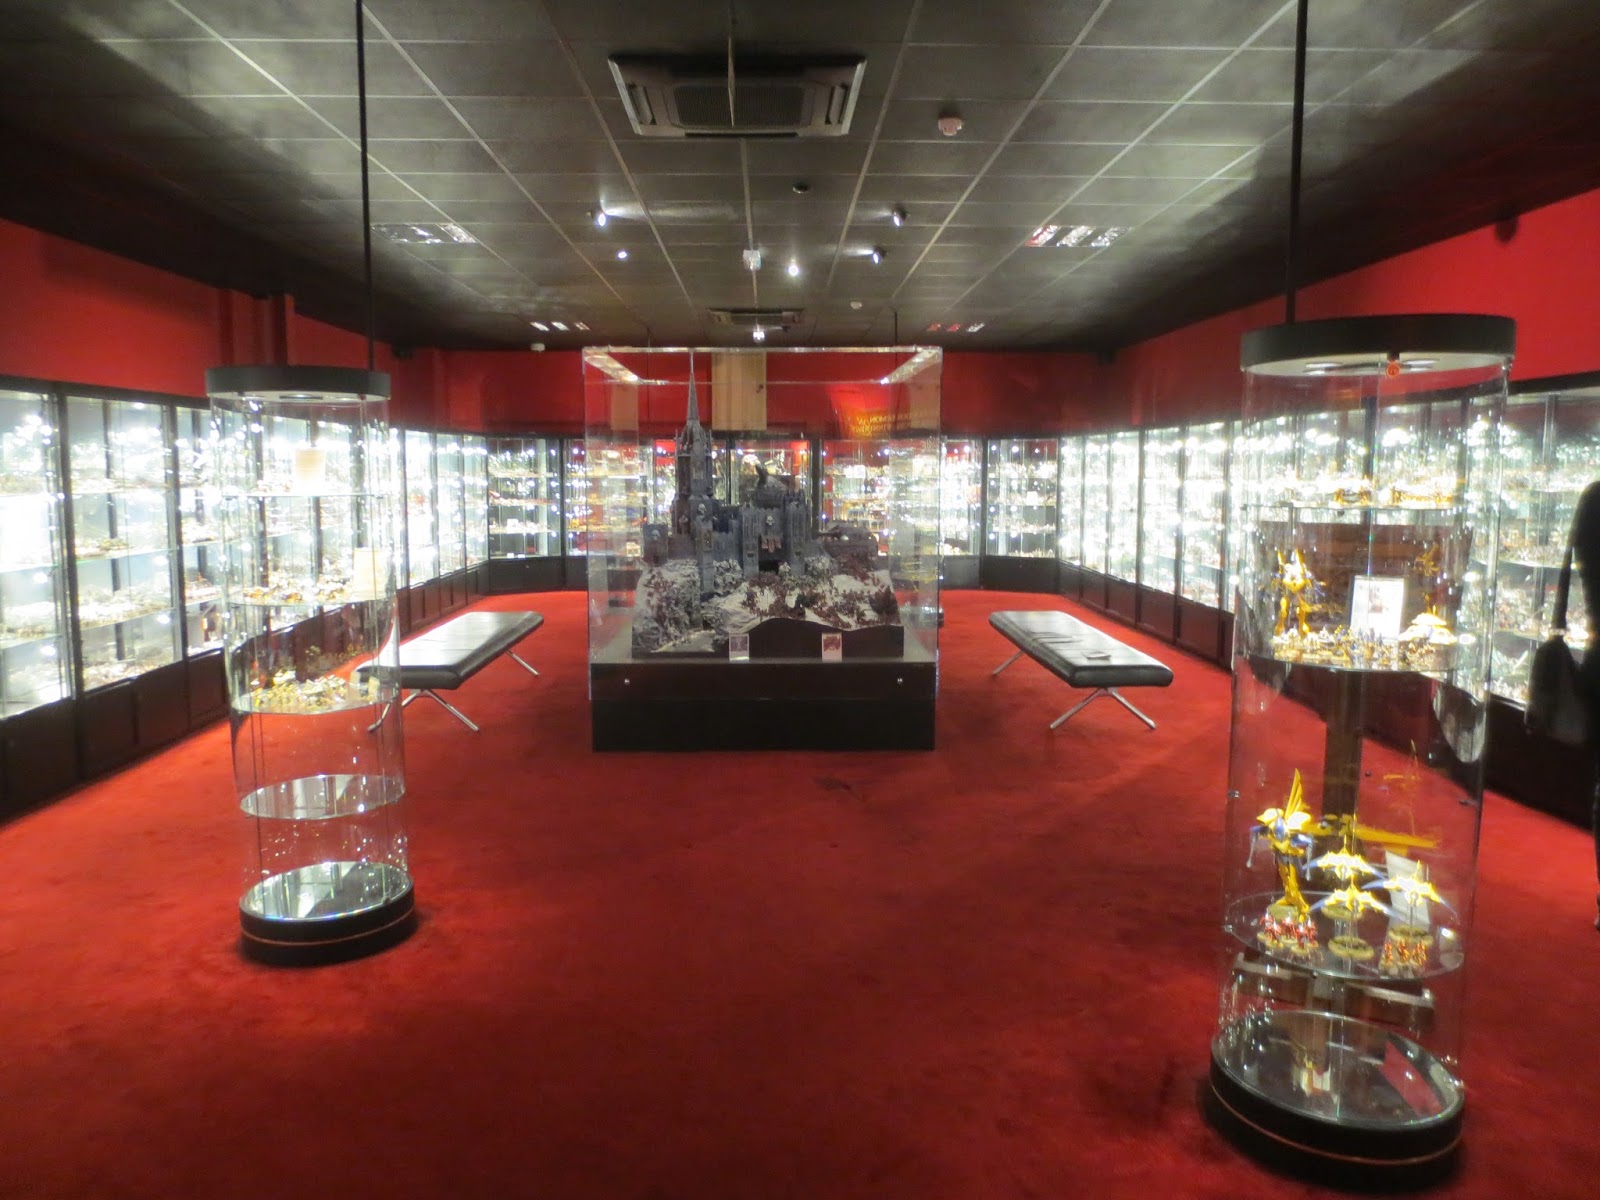
 Eavy Metal display room. Note the Tyranid display front and centre.

 Bugmans Bar

 Trophy Orc!


 Bad Moon Banner


 Evil Suns Banner


 Bugmans XXXXXX


Mmmm Fat Bloke burger with curly fries


What you see here is the parts for a Reaver Titan and two Warhound Titans...

I have always wanted the challenge of building and painting a Titan, but I never banked on three of them. To me they represent the 40k universe in all its glory.

Eventually the above will turn into the following....


Will keep you all posted!